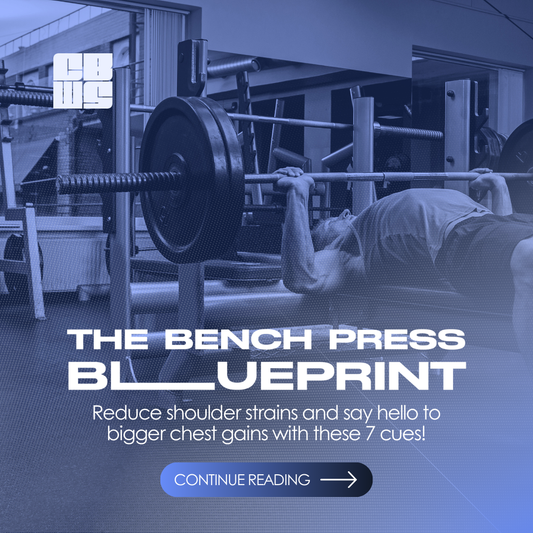
7 Cues for Better Bench Press and Greater Gains
Let’s talk about the bench press. Whether you’re training at home in the garage or out in the local gym, benching the barbell is one of the all-time greatest hits of the workout world. Everyone loves the chest gains - until you’re feeling those shoulder strains!
Key points in this article:
- The importance of proper technique to avoid injury
- Finding your grip: knuckles up
- Positioning your body: eyes under bar
- Planting your feet: screw them to the floor
- Protect your shoulders: pin them back
- The lift-off: break the bar
- The descent: row the bar
- The ascent: explode up
The Importance of Proper Technique for Bench Press
While most of us who are involved in strength training love the bench press, it can be a point of pain and frustration for anyone dealing with injury. Our vision of piling those plates on the bar can sometimes obscure the reality that if we don’t bench with proper technique, we could end up being demoted to leg day everyday due to injury (no offense to the leg lovers out there)!
The fixed arm position in bench pressing can strain the front of the shoulder, potentially leading to inflammation and pain, and in severe cases, a rotator cuff injury.
In this guide, we’re going to break down some bench press cues and give you a blueprint to safely excel in this exercise and build that bigger chest.
Correct Bench Press Setup

Finding Your Grip: Knuckles Up
The first step to a successful bench press is getting your grip right. Your hand position on the barbell can greatly affect the muscles you engage during the exercise. Close grip benching will work more on your triceps, while a wider grip press primarily targets your upper and outer chest muscles.
For a standard bench press, grip the bar slightly wider than your shoulders. The exact position will vary from person to person. You want your hands to be placed on the bar so that when you lower the weight to your chest, your wrists are over your elbows and your forearms are vertical.
Use the cue “knuckles up” as a reminder to lock your wrists with your knuckles to the ceiling. This position aligns your wrists over your elbows, keeps the focus on your chest rather than your arms, and allows for optimal force production.

Positioning Your Body: Eyes Under Bar
Once your grip is set, pay attention to how you position your body on the bench. A common mistake is setting up too close to the bar, which can hinder your lift-off and bar path.
Align your forehead with the bar to ensure a seamless lift-off. Use the cue “eyes under bar” to help you remember roughly where you should be.

Planting Your Feet: Screw Them to the Floor
When it comes to foot placement, you want your feet to be slightly behind your knees. This helps to create a tight and natural arch in your lower back, which contributes to a more stable and powerful press.
Keep your heels planted on the ground to allow you to properly drive your knees out and 'screw' your feet into the ground, creating torque throughout your lower body.

Protect Your Shoulders: Pin Them Back
Now that you’re on your back, imagine you have a foam roller on the bench along your spine. Squeeze your shoulder blades together into that imaginary roller, and use your lats to pull your shoulders down.
Combined with your foot placement, this will naturally cause a slight arch in your lower back, while your lats and your glutes remain anchored to the bench. Don’t force the arch, as this will be counterproductive.
Focus on staying tight through your whole body and pinning those shoulders back to create a stable base to push from.

The Lift-Off: Break the Bar
With a stable setup in place, it's time to initiate the lift-off phase. Unrack the bar and bring it over your sternum. The cue here to help you keep everything tight is ‘break the bar’. Your hands won’t actually move but imagine that you are trying to bend the bar away from you. This helps to generate and maintain that essential torque.
Caution: some people over-react to ‘break the bar’ and tuck their elbows in. Don’t do it! Keep your grip tight and your elbows stacked over your wrists.

The Descent: Row the Bar
As you lower the bar to your chest, think of rowing the bar to engage in a controlled, vertical descent. The bar should come down to your sternum – just below the nipples or the bottom of the sports bra.

The Ascent: Explode Up
The final phase of the bench press is the ascent or the press. Here, you want the bar to explode back up as you push through the floor with your feet and push yourself into the bench. This not only helps with stability but also generates more power for the lift.
Keep pushing the bar straight up towards the ceiling and finish your lockout before re-racking the weight.
In Summary
As well as being a popular exercise, the bench press is a complex movement that requires careful attention to form and technique. By understanding and applying the cues in this article, you can enhance your performance on the weightlifting bench, maximise your chest gains, and reduce your risk of injury. Remember, it's not just about lifting heavy - it's about lifting smart.
To see all of these bench press cues in action, check out this CrossFit video.
In our ChasingBetter WOD Supplies store, we’ve got barbells and weightlifting benches galore. We can also supply you with high quality bumper plates or upgrade your home gym set up with our range of power racks and squat racks. Got questions? Get in touch and someone from our team would love to help you!